Embroidery digitizing is a process that allows you to take embroidery and make it into a digital design. This makes the project much easier, as you don’t have to worry about any stitching. There are many services online that can help with this for a reasonable price, or you can ask friends and family members who are more experienced in embroidery digitizing.
To digitize your embroidered project, you have to take it off the material and make it into a digital file. You can do this using free digitizing software or programs on your computer. Once the embroidery is digitized, you can see how many stitches are on each embroidery block and move it around accordingly.
You can choose to use your chisel to manually remove that many stitches from each block or use individual stitches on your machine as well. This way, you don’t lose any of the embroideries in the process.
Different Types Of Embroidery Styles
Computerized embroidery done on a machine is a lot like digitizing in that you can move the design around and see how it works before you start stitching. There are different embroidery styles, such as appliqué and digitizing, but all of them are done using the same kind of machines. Some common types of embroidery styles are detailed here.
- Machine Embroider
Machine embroidery is essentially digitized on a larger scale with the help of a computer. The software will read your design then send it to the sewing machine, which will sew it. You can change colors easily and choose from designs that have already been programmed into the software or input your own.
- Hand Sewing
The embroidering using a hand needle is also known as “hand sewing.” This can be done by someone who has a lot of sewing experience but rarely uses many pieces at once. Most modern machines have increased the number of stitches they can create at one time, making them faster and more efficient.
- Surface Embroidery
Some of the best results can be had with embroidery on a machine using the surface patterns, which are tiny designs covering a large area. These designs fall right into the stitches and make them look even better as a result. There is also no need to cut out or reposition any designs in this process.
- Bead Embroidery
This embroidery style involves attaching beads and other decorative materials to form certain images or designs. This can be done with designing tools or by hand with very small stitches, but most of these projects are completely digital once the design is completed. The machine will move each tiny piece around when it builds your picture for you.
- Goldwork
Goldwork is also known as “Point De Broderie,” It began in the Middle Ages when fabric was in short supply. Goldwork embroidery can be done with threads, yarn, or metallic wires to create a design or with beads and gems attached to form a picture or pattern. These designs are very detailed and well planned out most of the time before the actual stitching is started.
You should be very careful about using the material no matter what kind of embroidery you choose to do. Use a stabilizer that will not disintegrate or shrink as used. If you are using a very heavy stabilizer, make sure your thread is up to the task of sewing through it.
Getting Started With Digitizing Embroidery Designs
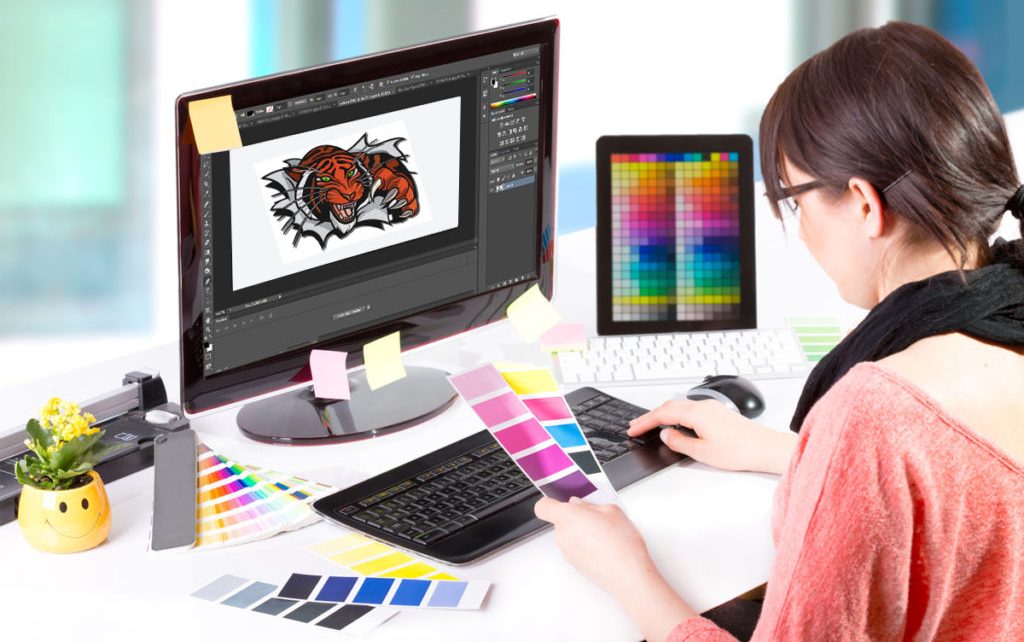
Firstly you need to set yourself up on free digitizing software for embroidery designing. Now take a high-quality image in better resolutions for editing. Now move on to set the coloring patterns, stitch-style and final dimension in your design. Finally, just transfer your image from this software to your designing machine using a transfer medium (USB or flash drive).
After transferring the raw design, set up the needle and thread sequence in the machine to get your digitized design embroidered on the cloth piece. Take a look at the step-by-step process for digitizing your embroidery design.
Step-1: Downloading Digitizing Software
As discussed above, the first step is to download the embroidery digitizing software. Many online websites are dedicated to providing such software.
Step-2: Converting and Importing Image
After downloading the embroidery digitizing software, the next step is to import your image into that software. Mostly all of these programs come with free samples for stitching on, so feel free to try out the design solutions in your real projects.
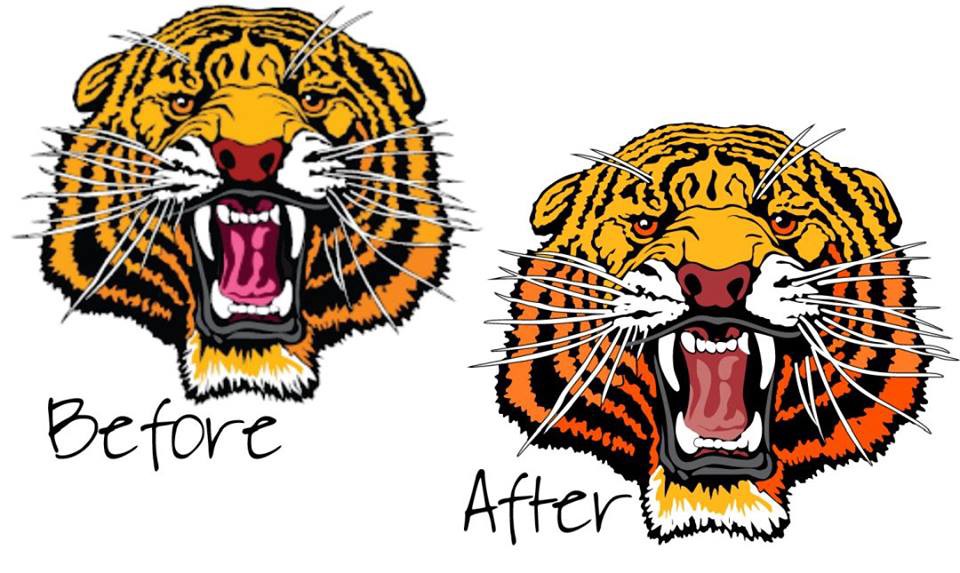
Step-3: Setting Illuminations and Colors
Now press the OK button while converting your image into stitches with mega rows and columns. You can also set up the row and column grid hopper to create designs with small stitches. Finally, adjust the color and illuminations of your designs according to your own choice.
Step-4: Stitching Your Embroidery Digitizing Designs
After finishing all the setup processes, now load your design into your machine. You should use a stabilizer for better coloring and blending of threads in your embroidery digitizing design for best results.
There are several ways you can digitize an embroidery pattern, but the easiest way is with a scanner and an image editing program for image processing. To conclude, just get free digitizing software offering professional-grade results in digitizing embroidery designs. However, if you have the budget, it is a good method to get high-quality results from your embroidery designs.
The good thing about digitizing embroidery designs is that many tools and software programs allow you to convert your digital image into stitches with a high degree of precision. As a result, you will be able to make high-quality embroidery designs that look like they are made of hand-sewn threads.